
When I was 15, I painted a huge monotone red landscape of the Cornwall coast. My art teacher suggested putting green, purple and blue into it. I looked at her as though she was mad!
“Err. Miss, it’s a REDSCALE landscape. As in: only red allowed.”
But when does red stop being red and start being orange?
When you print in greyscale, that’s it. The only colours present are white, black, blacker white and whiter black.
When you paint in greyscale… that’s not it. And I understand that now.
*******************************************************************************************
To paint a Zebra… you will need:
- White and Black paint, yes.
- But also: copper, purple, blue – but a cobolt blue, not a turquoise blue, brown – a raw umber and a burnt sienna, green – something yellowy like hookers green, burgundy, gold and yellow. And fancy ones like flesh tint. And it wouldn’t hurt adding in a lot lot more either!
- A canvas, I used 50cm x 50cm.
- Water
- Flat paintbrush & small rounded paintbrushes of varying size.
How to guide
- Lay down the basics: Grid up your photo and your canvas.I have a grid that I use digitally on my computer screen to put over the photograph.
I then use each square on the screen as a 5cm square on my canvas. Then you just copy what is in each square onto your canvas in pencil. It keeps all stripes accounted for.
Paint the background white. This may take several layers.

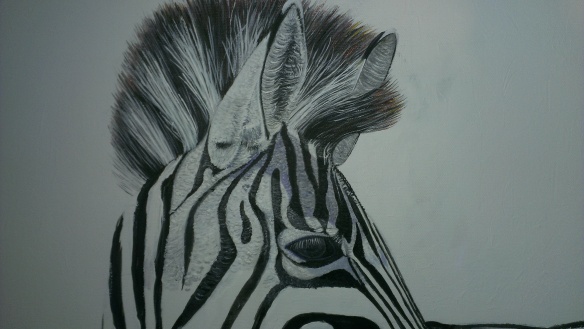
- It is just black and white: Paint the black stripes in black, and the white stripes in a pale grey (I won’t tell anyone if you just use white paint with a little bit of black in it. That’s what I did for the base coat!).The trick at this stage is just to make it so that every part of the canvas is covered:
Trick: hold it up to the light and see if you can see through it.

- Cruella-style Mohawk: Use a flat brush to paint the white areas in grey, and the black areas black. Then use a small rounded brush to add individual pale hairs into themane. I find that using acrylic inks can really help get precise brushstrokes.Mix a bit of cobalt blue into your grey, to get cooler tones, and hints of yellow, brown and copper to get richer tones.
I also used flecks of pure copper at the tips of some of the hairs, which gives the impression that they are caught in sunlight.

- Hairy ears and eyelashes: For the ears, you need a reallydiddy brush, definitely mixing in some blue and a hint of green to get cooler tones.The trick is lots of tiny short brushstrokes on the outside of the ears to get a look of fur, not hair, and then warmer shades of longer, curly strokes inside the ears.
For the eyes, paint the area a deep blue-grey, and then put in a darker pupil. Use white acrylic ink to flick delicate eyelashes from the top eyelid.
- The White Stripes: Pay particular attention to the different tones in the photograph.Once you get past the idea that the ‘white’ stripes should be paler than the ‘black’ areas, and start seeing them as just tones, you will go forward in leaps and bounds!
Use a range of varying watered down grey-blues using a little rounded brush, and create little delicate hairs.
Sculpt areas of shadow and light so that you can make out the muscles of the body.
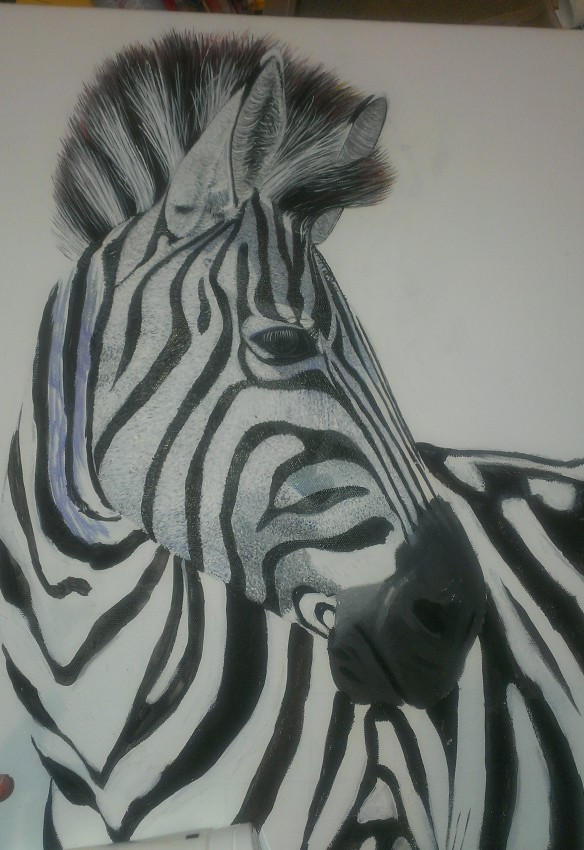
- Crinkly snout: This was the part that I found the toughest. No hair! Firstly block in the different tones of shadow, mixing green into your paint to achieve an accurate shade. Then pick out the areas of highlight with a pale grey.
Use short brushstrokes to carve dots and crinkles into the skin to give the impression of wrinkles and pores.
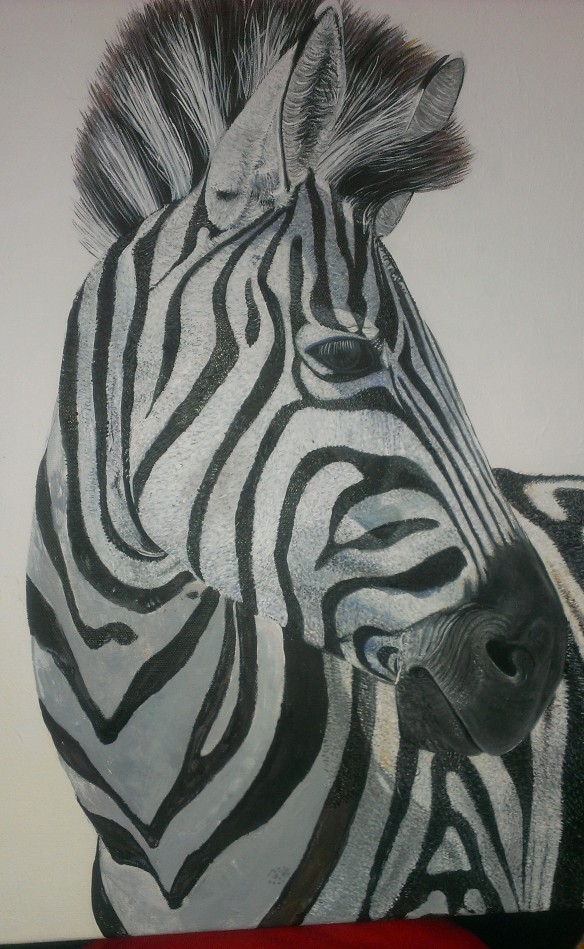
- Plug away: There is no secret to achieving detail. Just lots and lots of layers of little hairs, covering all of the stripes, all over the body.A lot of hours of your life… As soon as one stripe is done, onto the next!


I am thinking of getting giclée prints made of Zeb.
Please let me know if you would be interested in pre-ordering.
